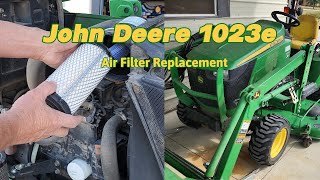
This is a hands-on DIY walkthrough of replacing the air filter on a 2012 John Deere 1023E, filmed by an owner doing the job on his own tractor. It covers removing the side panel, locating the filter, pulling the dirty inner/outer elements, installing new ones, and reassembly, plus a note about ordering the correct OEM part numbers after an initial mis-order. Good for owners wanting a real, unhurried demonstration of this specific maintenance task.
Posted by the DIY: More or Les channel, an owner-operator documenting maintenance on his own 1023E mainly for personal reference.
What this video covers
Side panel held on by one 10 mm bolt and nut
Panel slides off by pushing toward driver's seat
Air filter sits at front of engine compartment
Ordering by model number got the wrong filter size
Inner and outer filters just push into place, no twisting
Manufacturer recommends changing filters every 50 hours
Questions this video answers
How do you remove the side panel on a John Deere 1023E to get to the air filter?
There is one 10 mm bolt with a nut on the back side. Remove both with sockets, then the single-piece panel pushes off toward the driver's seat.
How do you replace the air filter on a John Deere 1023E?
Pull the latch open, remove the dirty outer and inner filters, then push in the new inner filter first followed by the outer filter, making sure each is seated well.
Can you order air filters for a John Deere 1023E using just the tractor model number?
The owner ordered filters based on the model number and they were too big, so he had to reorder using the correct OEM part numbers instead.
How often should the air filter be changed on a John Deere 1023E?
The filters are supposed to be changed every 50 hours, though the owner admits he had not changed his in three years of ownership.