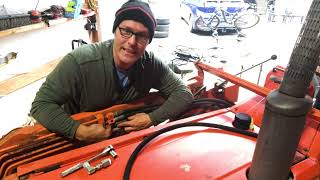
This is a step-by-step DIY install video, not a review: the seller of the kit walks through mounting a remote hydraulic valve and hydraulic top link onto a 1980s Kubota L2550, showing how to tap into old-style hoses without quick couplers, seat fittings, avoid pressure lockups when connecting implements, and operate the switching valve afterward. Useful for owners of older Kubotas planning this exact upgrade themselves.
Posted by Tractor Innovations, a seller of these hydraulic kits and custom top links, so the video doubles as a product demonstration and installation guide for its own parts.
Uses 8-inch travel hydraulic top link that shrinks to 18 inches
Taps into old-style rubber hoses where they meet steel lines
Hand tightens swivel fittings only, overtightening can strip the hose
Shows how to relieve hydraulic pressure before connecting implements
Knob pulled out trades one loader function for the rear remote
Questions this video answers
How do you install a remote hydraulic kit on an older Kubota L2550 without quick couplers?
You mount a bracket and switching valve onto the loader valve bolts, then tap into the rubber hoses where they meet the steel lines, removing and reinstalling fittings with thread seal tape instead of using quick couplers.
Why won't a hydraulic implement connect to the remote on a Kubota L2550?
There is likely pressure in the hose. Check by pushing the ball fitting with your thumb; if it won't push in, cycle the loader valve through all four positions with the engine off to relieve pressure.
What size hydraulic top link fits a Kubota L2550?
An 8-inch travel model that shrinks down to 18 inches fits, since a larger commercial model that retracts to 22 inches is too long for this tractor.
How does the switching valve work after installing the remote hydraulic kit?
With the knob pushed in you have normal loader control. Pulling the knob out trades one loader function, in this case lift, for control of the rear remote and hydraulic top link.